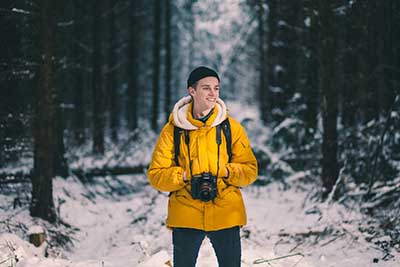
outdoor living done right
Unforgettable travel
experiences with a
positive impact.
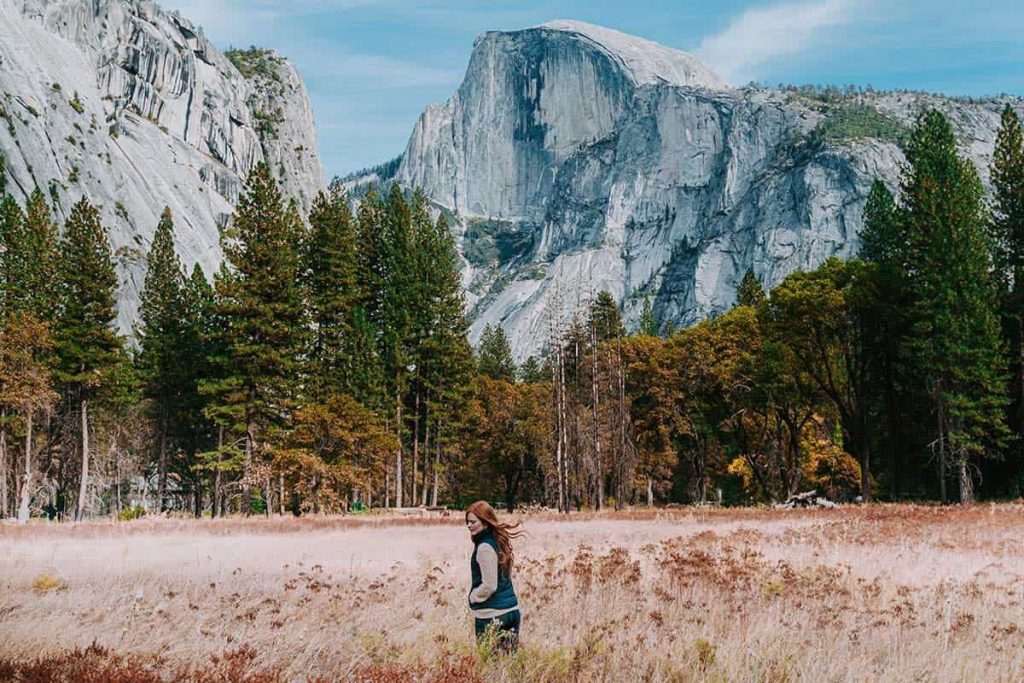
SEP 4-6, ’21
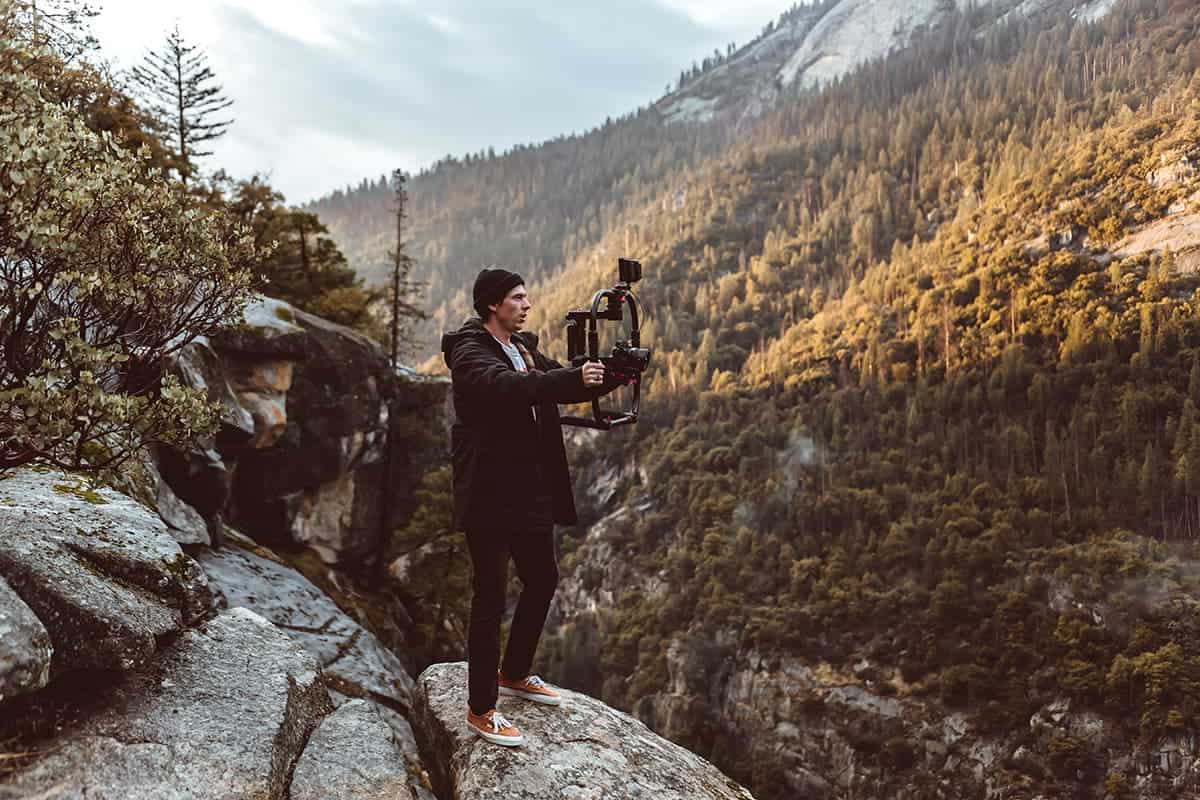
Yosemite National Park, California
Lorem ipsum dolor sit amet, consectetur ADIPISCING elit, sed do eiusmod tempor.
Why Yosemite
“ Yosemite Valley is on the western slope of the Sierra Nevada mountains. ”

Bruce V. Long
Former VP of Product
at Company Name
Lorem ipsum dolor sit amet, consectetur adipiscing elit, sed do EIUSMOD tempor incididunt ut labore et dolore magna aliqua. Id nibh tortor id aliquet lectus proin nibh.
Diam donec adipiscing TRISTIQUE risus nec feugiat in. Ut morbi tincidunt INTERDUM velit euismod in pellentesque.
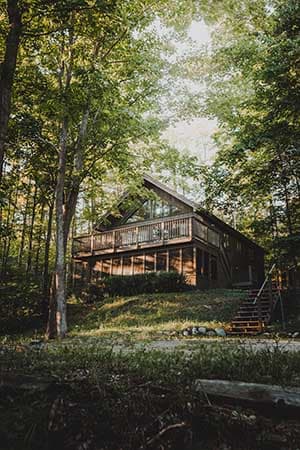
Why stay with us
Lorem ipsum dolor sit amet, consectetur adipiscing elit. Ut elit
tellus, luctus nec ullamcorper mattis.
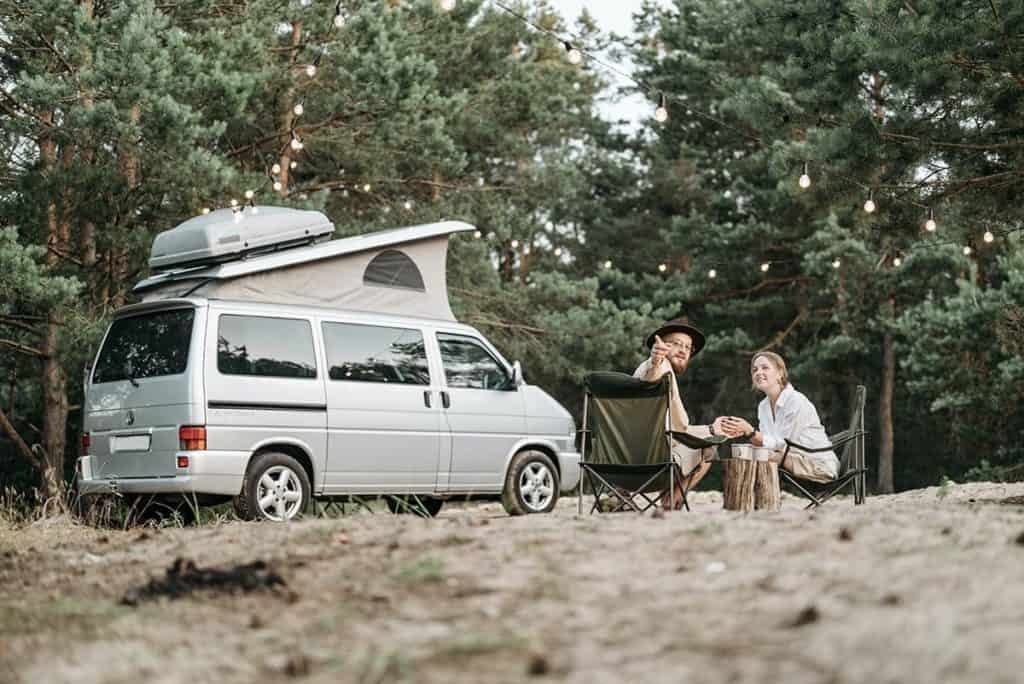
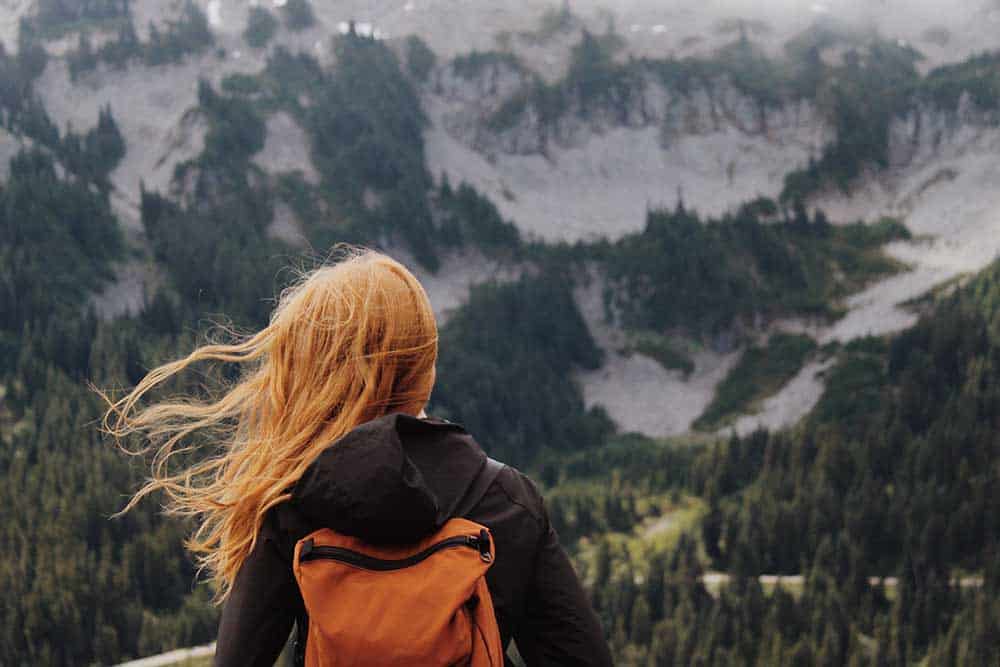
Many ways to stay
Beautiful Scenery
Excellent Facilities
Friendly Staff
Travel in Style
Quality time with family and friends, relaxation & enjoyment of nature.
Magna sit amet purus gravida quis blandit turpis cursus in. Viverra ipsum nunc aliquet bibendum enim facilisis gravida neque convallis. At augue eget arcu dictum. Sed libero enim sed faucibus turpis. Nunc non blandit massa enim nec. Vitae suscipit tellus mauris a diam maecenas sed enim ut.
SEP 22-24, ’21
Climbing the highest point of Yosemite
Lorem ipsum dolor sit amet, consectetur ADIPISCING elit, sed do eiusmod tempor.
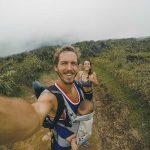
Our events
Find out more
about our events
What members
are saying
Lorem ipsum dolor sit amet, consectetur adipiscing elit. Ut elit
tellus, luctus nec ullamcorper mattis.
Lorem ipsum dolor sit amet, consectetur adipiscing elit. Ut elit tellus, luctus nec ullamcorper mattis, pulvinar dapibus leo.
Lorem ipsum dolor sit amet, consectetur adipiscing elit. Ut elit tellus, luctus nec ullamcorper mattis, pulvinar dapibus leo.

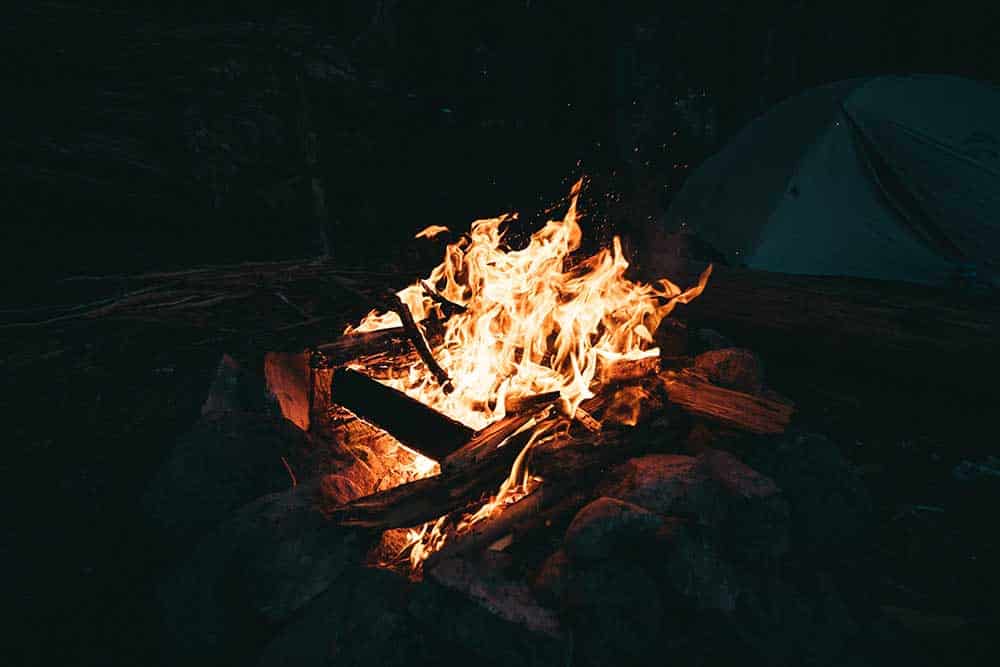
Get a glimpse of what you can experience
Lorem ipsum dolor sit amet, consectetur adipiscing elit, sed do eiusmod tempor incididunt ut labore et dolore magna aliqua. Elementum curabitur vitae nunc sed. Accumsan tortor posuere ac ut. Mauris nunc congue.
Don’t worry, we didn’t
forget the details
Placerat orci nulla pellentesque dignissim enim. Aenean sed adipiscing diam donec adipiscing. Interdum velit euismod in pellentesque massa placerat duis. Facilisi etiam dignissim diam quis enim lobortis scelerisque fermentum dui.
Libero enim sed faucibus turpis in eu mi bibendum neque. Arcu non sodales neque sodales ut etiam sit amet. Sit amet dictum sit amet justo donec. Sed risus ultricies tristique nulla aliquet. Cursus metus aliquam eleifend mi in nulla posuere sollicitudin aliquam. Enim sit amet venenatis urna cursus. Consequat interdum varius sit amet mattis vulputate.
Browse more trip
types & interests
Lorem ipsum dolor sit amet, consectetur adipiscing elit, sed
do eiusmod tempor incididunt ut labore.
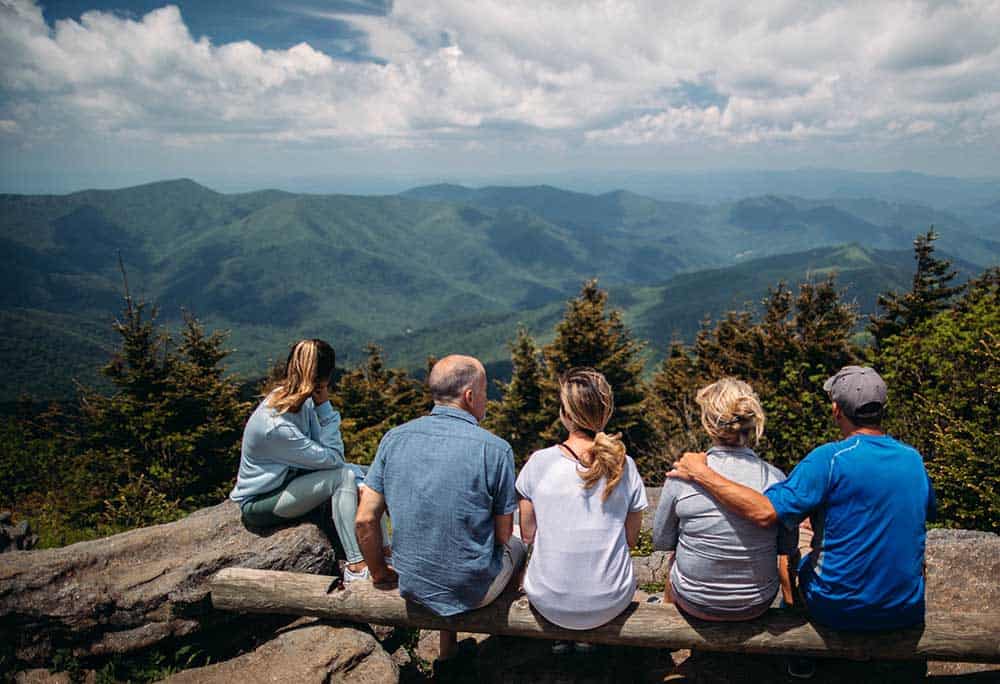
See the world with those you love
Arcu non sodales neque sodales ut etiam sit amet. Sit amet dictum sit amet justo donec. Sed risus ultricies tristique nulla aliquet. Cursus metus aliquam eleifend mi in nulla posuere sollicitudin aliquam.
Quis blandit turpis cursus in. Erat imperdiet sed euismod nisi porta lorem mollis. Lobortis mattis aliquam faucibus purus. Laoreet id donec ultrices tincidunt arcu non sodales neque.
Unforgettable wildlife encounter
Placerat orci nulla pellentesque dignissim enim. Aenean sed adipiscing diam donec adipiscing. Interdum velit euismod in pellentesque massa placerat duis. Facilisi etiam dignissim diam quis enim lobortis scelerisque fermentum dui.

Our Sponsors
Lorem ipsum dolor sit amet, consectetur adipiscing elit. Ut elit
tellus, luctus nec ullamcorper mattis.